How To Install the Apache Web Server on UBUNTU 22.04
In the ever-evolving world of web development and server management, Apache remains a cornerstone of web technology, renowned for its flexibility, reliability, and wide-ranging support. If you’re working with Ubuntu 22.04, you’re in a strong position to leverage this powerful web server to host and manage your websites or applications efficiently.
Apache HTTP Server, often just referred to as Apache, is an open-source solution that offers a plethora of features, including support for multiple languages, customizable configuration, and a robust security model. With Ubuntu 22.04, the latest long-term support (LTS) release, you get an up-to-date and stable platform that pairs perfectly with Apache’s capabilities.
In this comprehensive guide, we’ll delve into the step-by-step process of installing Apache on Ubuntu 22.04. From initial setup and configuration to verifying your installation and ensuring optimal performance, we’ll cover everything you need to get Apache running seamlessly. Whether you’re a seasoned developer or a newcomer eager to dive into web hosting, this guide will equip you with the knowledge and tools necessary to harness Apache’s full potential on your Ubuntu server. Let’s get started and set up a powerful web environment tailored to your needs!
How to Install the Apache Web Server on Ubuntu
You can install the Apache Web Server on Ubuntu by following the steps mentioned below.
1. Update Advance Package Tool
In the first step, the most important thing you need to do is to update the advance package tool. To update the advance package tool, you need to run:
sudo apt update
2. Install Apache Tool
After updating the advance package tool, you need to install the apache tool. To install the apache tool, run the command:
sudo apt install apache2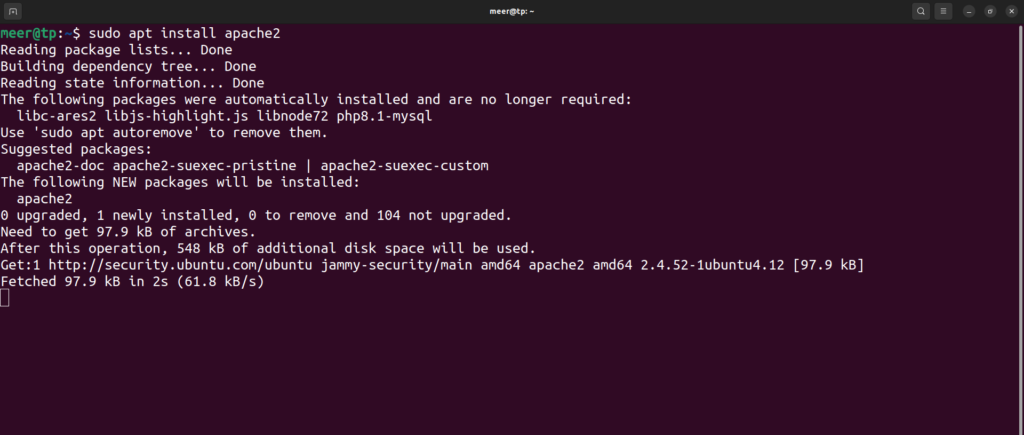
3. Check Status
After completing the installation of apache tool, you can also check the status. To check the status, run the code:
sudo service apache2 status
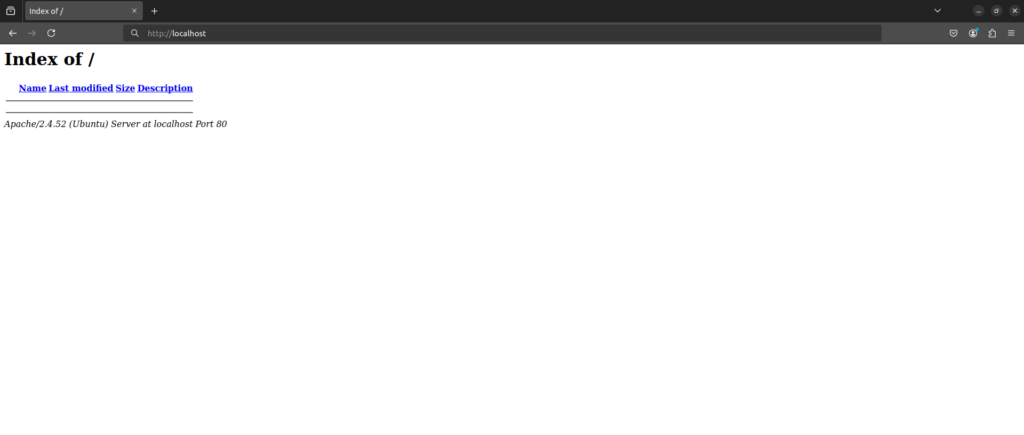
This will show you the status of the apache. You can see the Status: Active(running) in the screenshot above. You can also check the output in the browser. For this type http://localhost in the web browser.
BONUS COMMANDS
In addition with the steps to install apache web server on ubuntu, here are a few more bonus commands that you can do
1. Stop
You can stop the apache server if you want to. To do this, run the code:
sudo service apache2 stop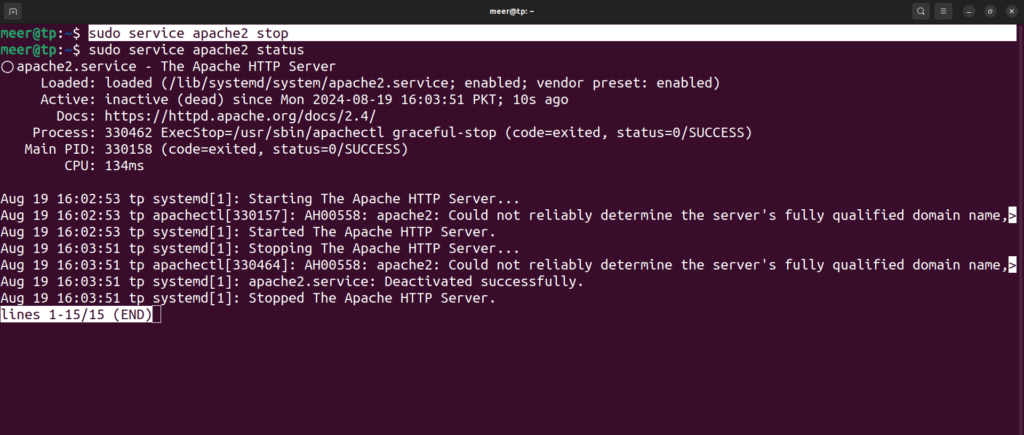
2. Start
After stopping the apache server, you need to start it. To start the apache server on your ubuntu, run the command:
sudo service apache2 start
3. Restart
Whenever you make any changes in your server, you need to restart it to make it effective. You can restart your apache service with one single code. To restart the apache service run the code:
sudo service apache2 restart
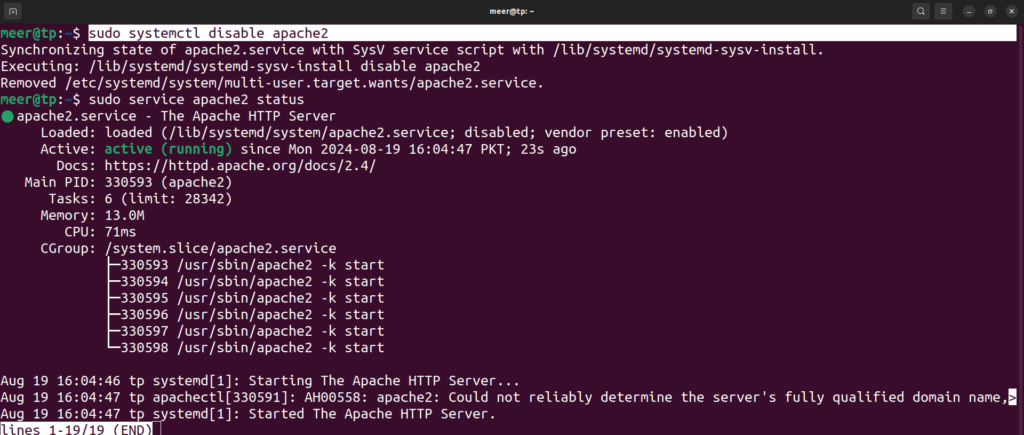
4. Disable/Enable
This disable command will prevent apache from starting automatically after the server reboots. To use this command run:
sudo systemctl disable apache2
Now, after disabling the apache, we will have to enable when need. To do this run:
sudo systemctl enable apache2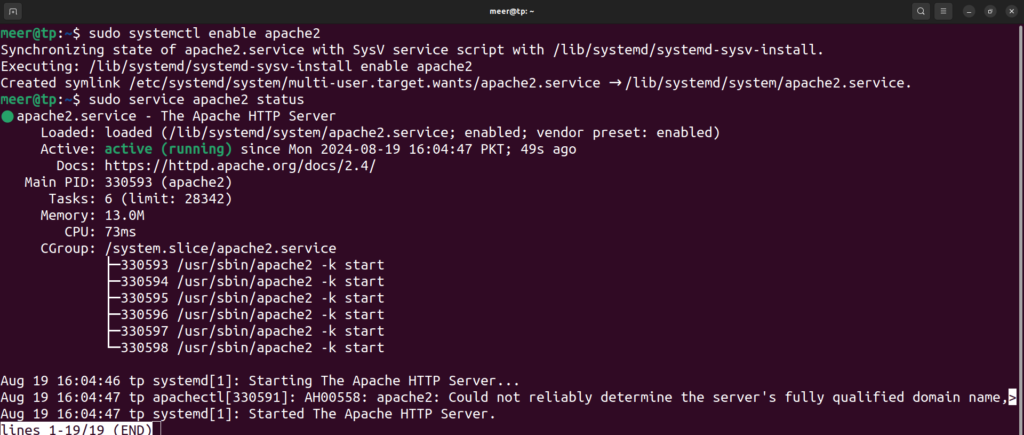
That’s all folks. We hope you found this article helpful, make sure to comment down below or contact us if you face any issues. Thanks!