How to Install phpMyAdmin on Ubuntu?
While many customers require the capability of a database management system such as MySQL, they may not be comfortable engaging with it simply through the MySQL prompt.
If you’re a web developer, you’ve likely heard of phpMyAdmin. It’s a powerful and easy to use web-based interface for managing MySQL databases, and it’s a must-have tool for any developer who works with databases frequently.
PhpMyAdmin was built to allow users to interact with MySQL via a web interface. In this post, we’ll go over how to install and secure phpMyAdmin so you can safely manage your databases on an Ubuntu 20.04 server.
Prerequisites for installing phpMyAdmin
Before installing phpMyAdmin, ensure sure your server matches all of the following requirements:
- Ubuntu VPS. Your VPS should run the most latest Ubuntu supported version, such as 22.04 or 24.04. If you don’t already have a server, try getting an Ubuntu VPS package from a reliable operator.
- LAMP stack installation. To run phpMyAdmin, make sure you have Apache, MySQL, PHP, and the necessary extensions installed. If you haven’t already configured them, see our guide on installing the LAMP stack on Ubuntu.
- Web Server
- Web Browser
How to Install phpMyAdmin on Ubuntu?
Installing phpMyAdmin on Ubuntu is very easy. Just by following the steps below, you can complete the installation in no time.
Step # 1; Update Advance Package Tool
The first step in installing phpMyAdmin on Ubuntu is to update the advance package tool. For this you need to code;
sudo apt update
Step # 2; Install phpMyAdmin
Next step is to install phpMyAdmin. For this you need to code;
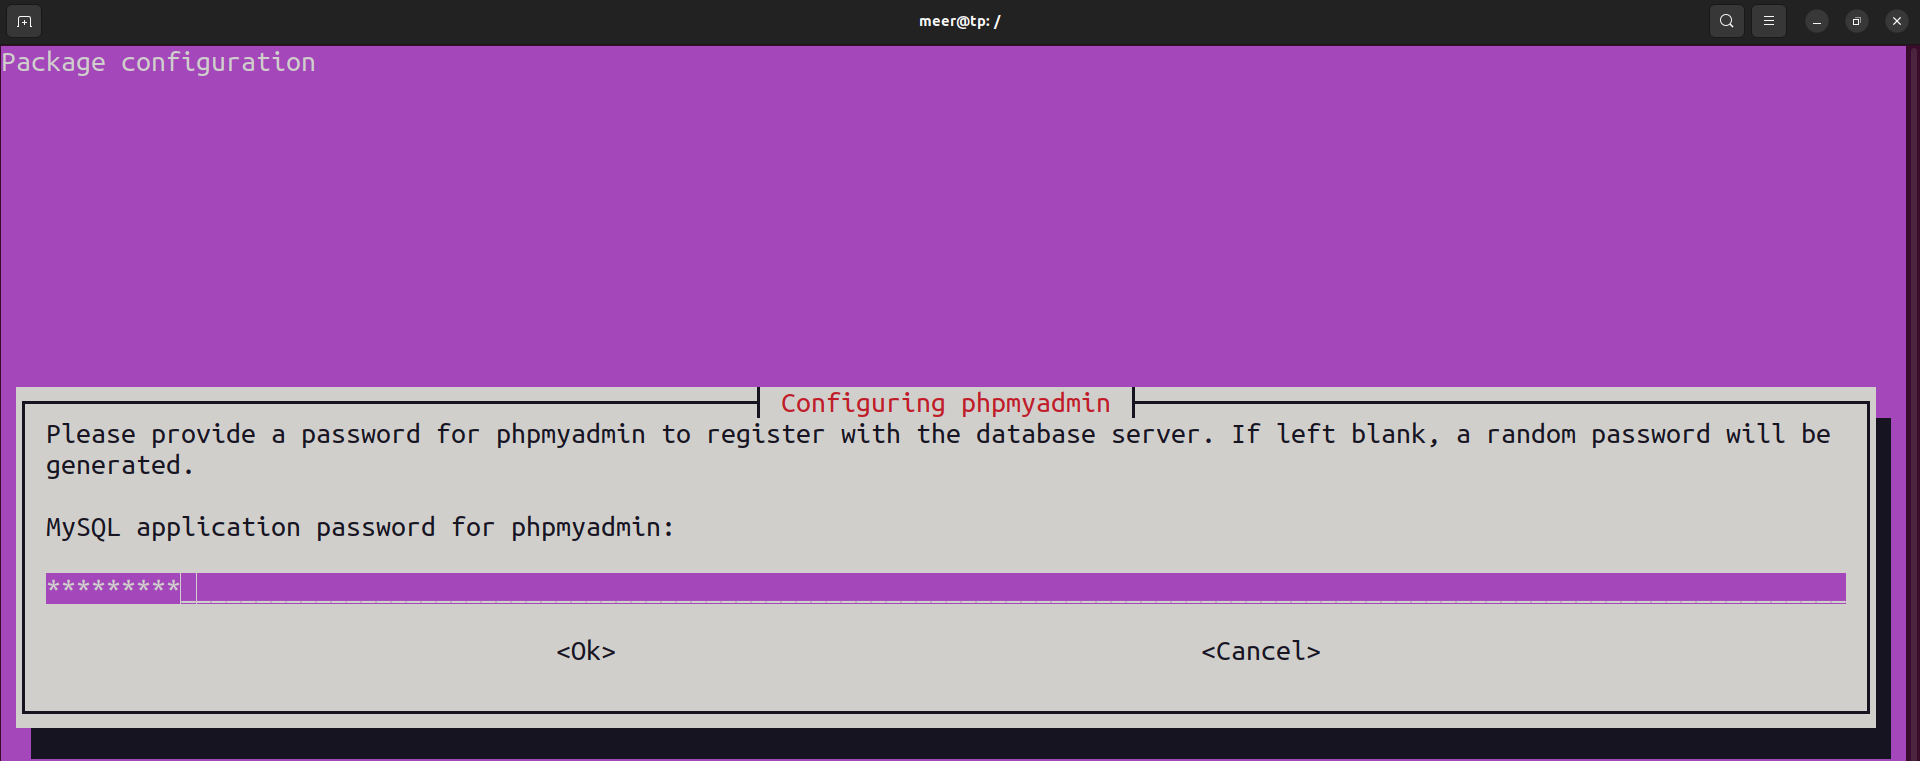
sudo apt install phpmyadmin
After the downloading is completed, a pop-up box will appear which will ask you to configure phpmyadmin. You can connect phpmyadmin with MySQL by typing up your MySQL password there. Note: You will also need to confirm your password.
Step # 3; Configure phpMyAdmin with Web Server
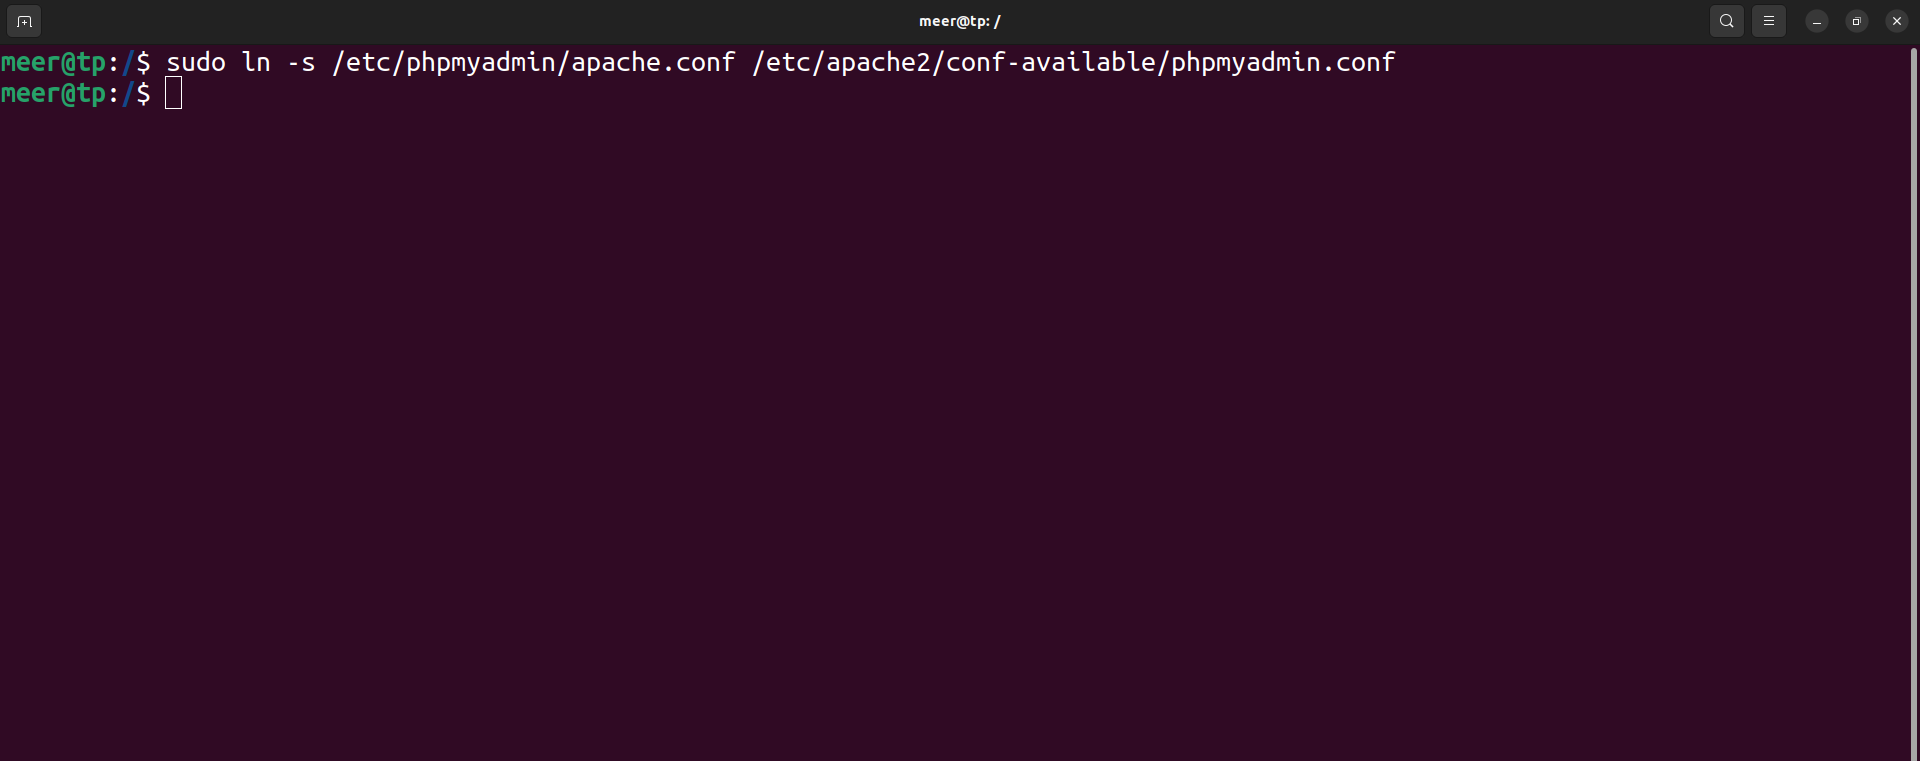
In the next step, you need to connect the phpMyAdmin with the web server. For this, you will need to create a shortcut of the configuration file of our phpMyAdmin into our web servers configurations. For this use the code;
sudo ln -s /etc/phpmyadmin/apache.conf /etc/apache2/conf-available/phpmyadmin.conf
Step # 4; Enable Configuration File into Apache
To enable the configuration file into Apache, you need to use the code;
sudo a2enconf phpmyadmin.conf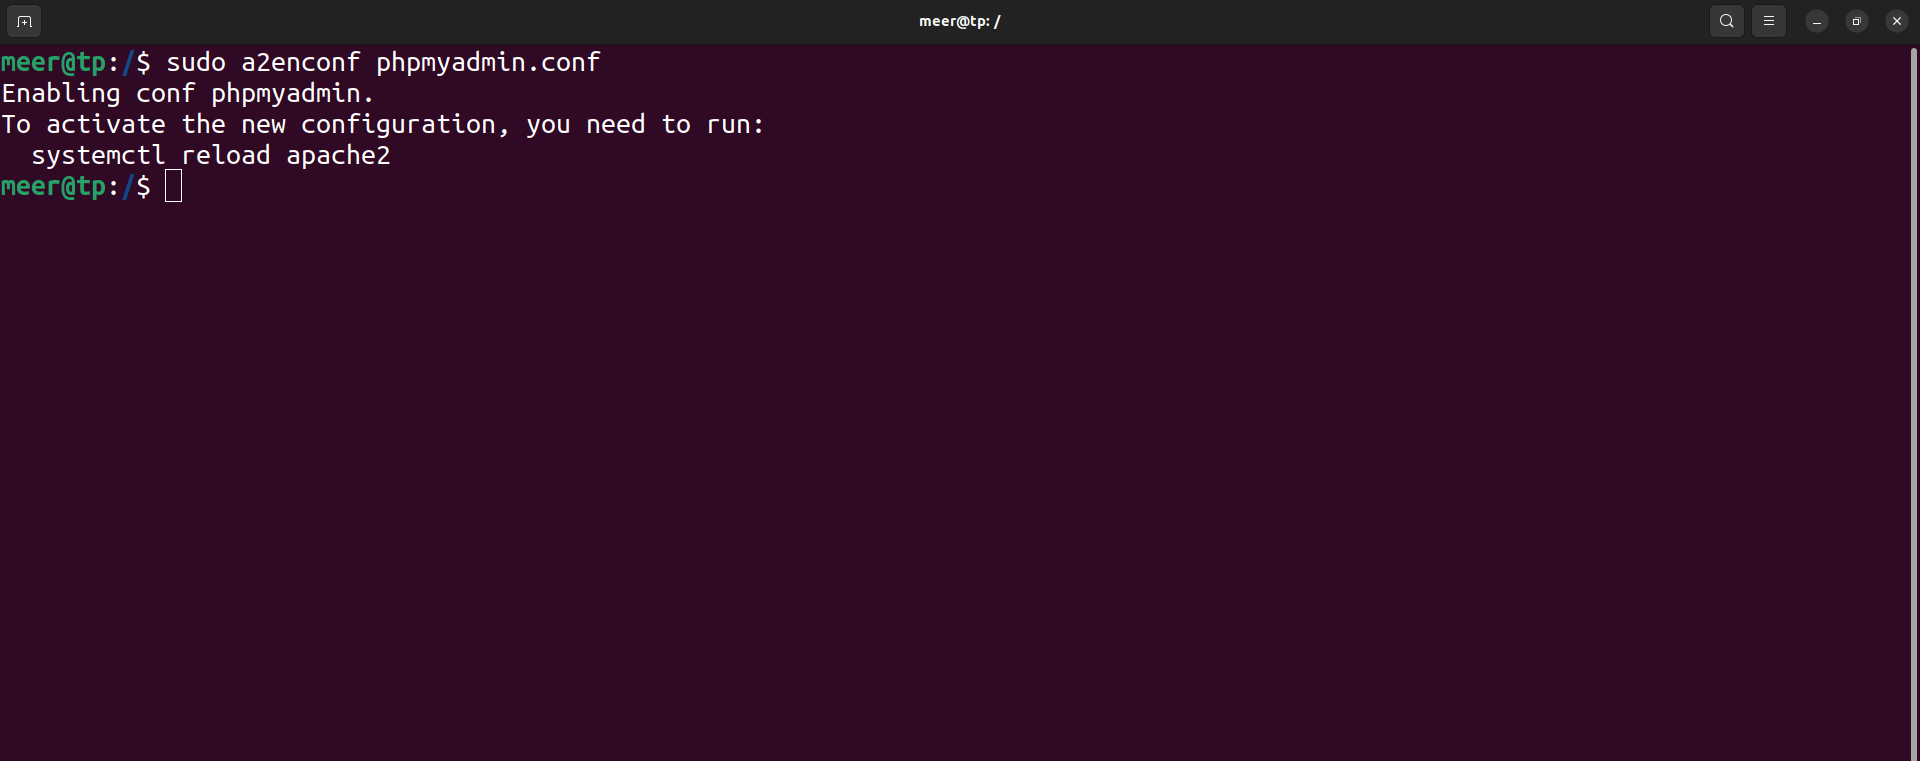
Step # 5; Reset Apache2 and Check into Browser
Now, you need to reset the apache2, so that the changes may take effect. For this code;
sudo systemctl restart apache2
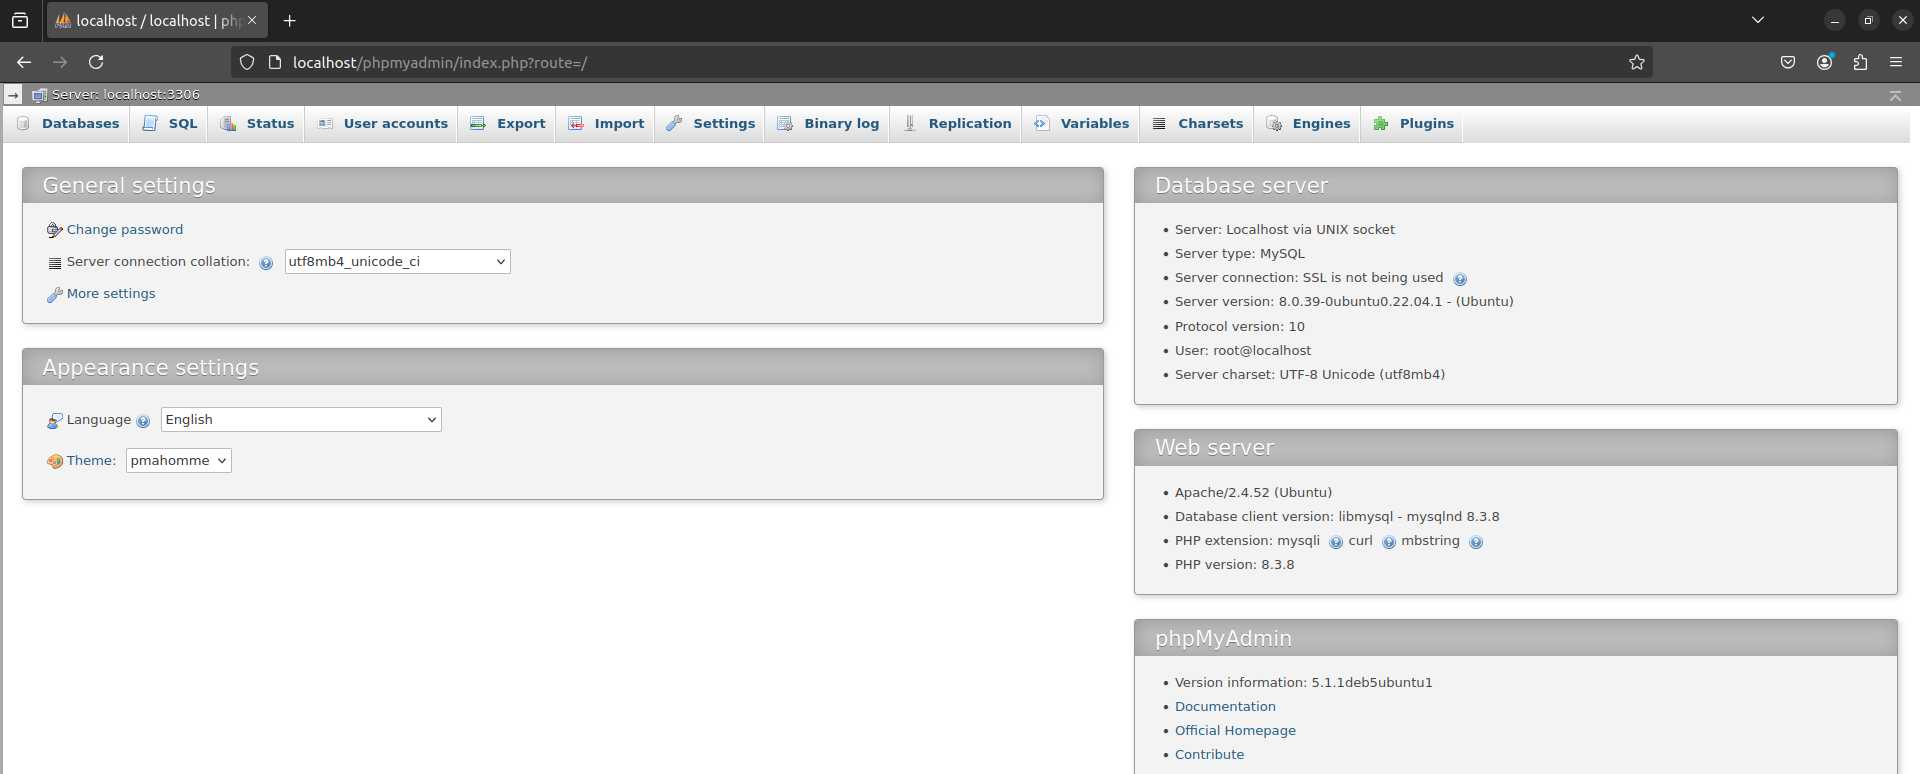
Now after this, you can to check into browser by following into the link in your web browser;
http://localhost/phpmyadmin/
By doing this, you will be able to see your phpMyAdmin page. After adding username and password, you will be able to see your interface.
We hope you found this article helpful, make sure to comment down below or contact us if you face any issues. Thanks!